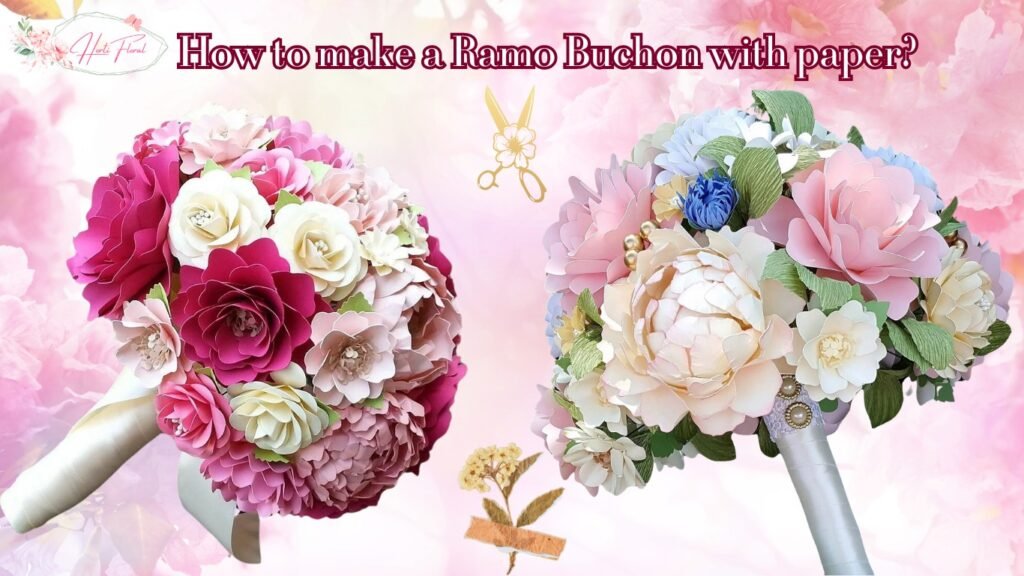
In this article, we are excited to share with you a step-by-step guide on how to make a Ramo Buchon with paper, also known as a paper bouquet. Whether you want to add a touch of elegance to your office space or create a unique centerpiece for an upcoming corporate event Ramo Buchon with paper is best choice, this simple DIY project will surely impress you and your loved ones. Crafting a Ramo Buchon with paper, also known as a paper bouquet.
Table of Contents
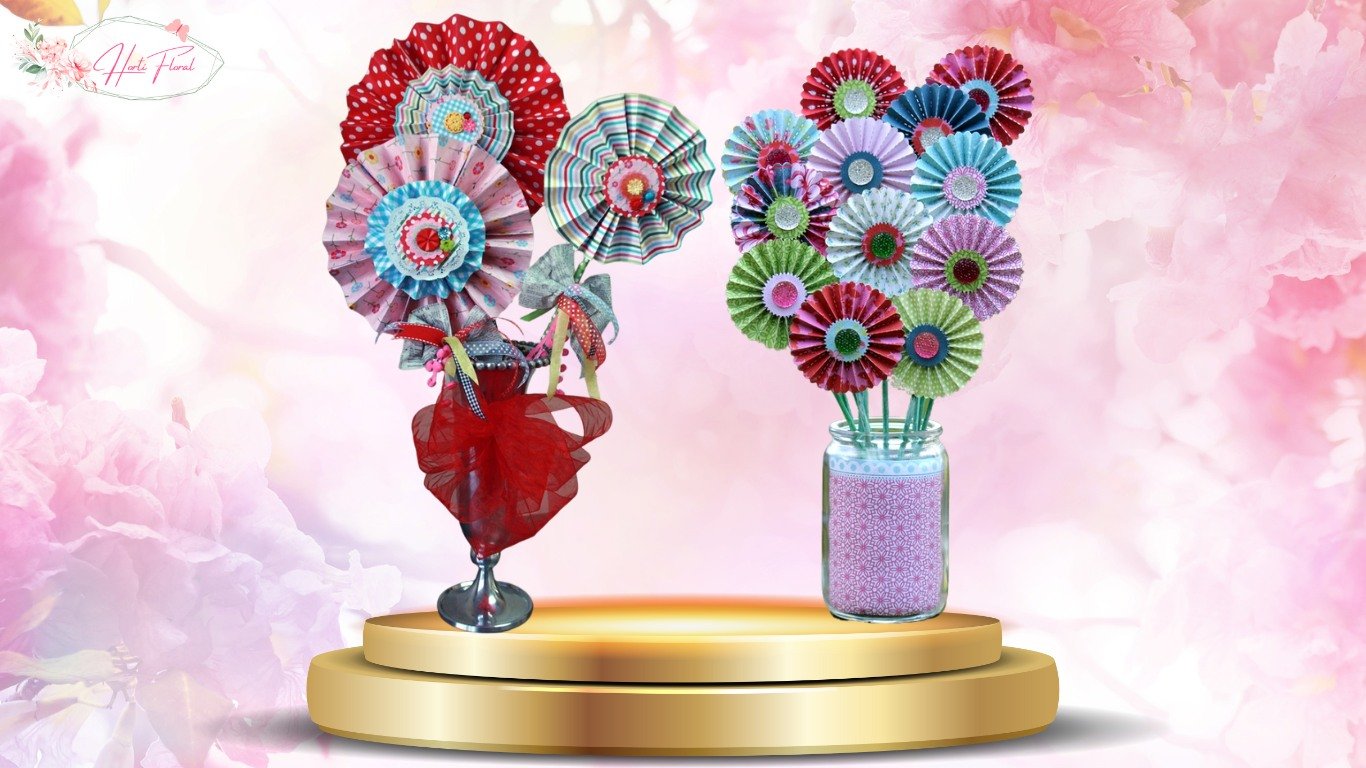
Crafting a Ramo Buchon with paper, commonly called a paper bouquet, introduces a creative and distinctive element to enhance the sophistication of any occasion. While assembling an entire bouquet from paper may seem intimidating, a patient approach coupled with straightforward materials empowers you to fashion a captivating centerpiece or gift that will leave a lasting impression on any recipient.
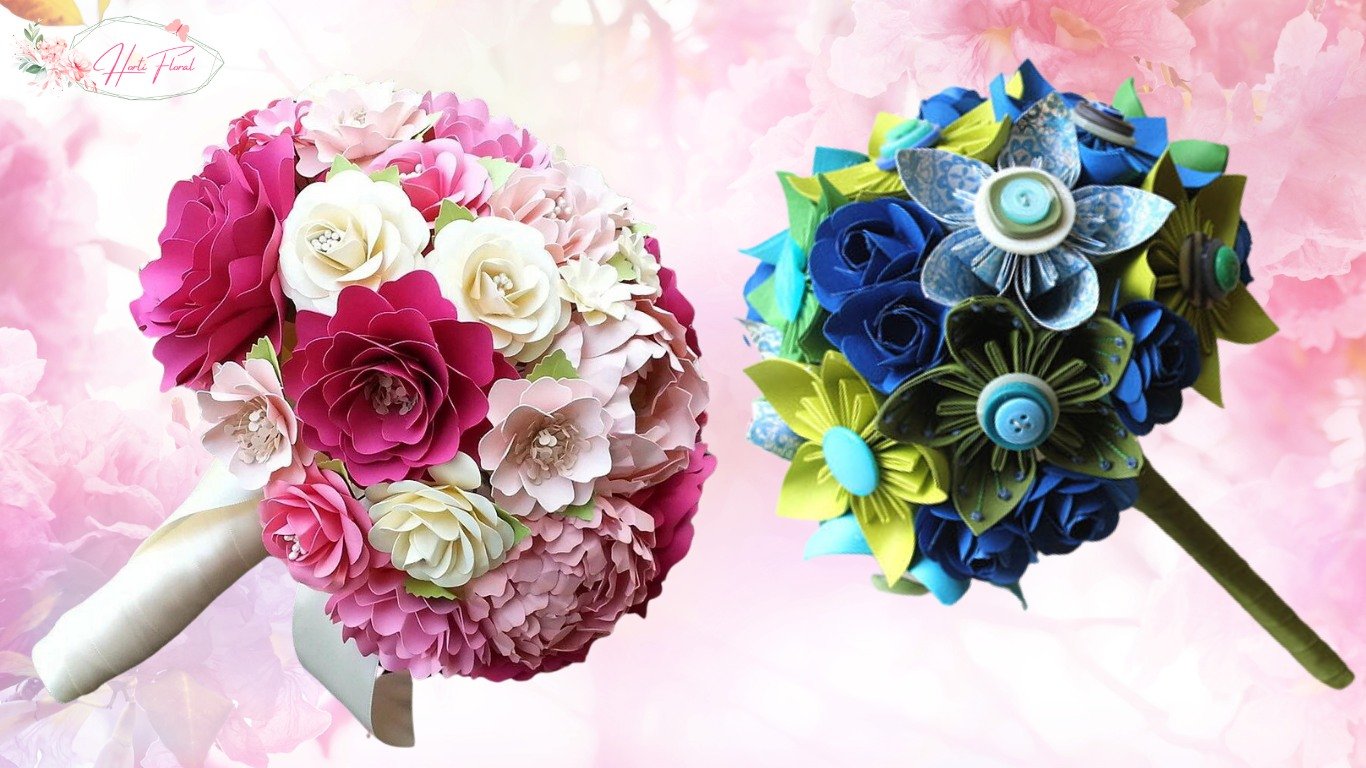
The allure of Ramo Buchon with paper lies in their myriad advantages over traditional fresh flower arrangements. Beyond their enduring nature and inherent durability, paper bouquets offer a spectrum of possibilities in terms of colors, textures, and shapes. Creating your paper bouquet ensures longevity and grants you the freedom to tailor it precisely to complement any theme or style, adding a personalized touch to your creation.
Crafting a Ramo Buchon from paper provides a canvas for your creativity to flourish, resulting in an exquisite centerpiece or gift. Whether orchestrating a wedding, organizing a special event, or simply aiming to infuse an air of sophistication into your surroundings, this distinctive paper bouquet is a captivating focal point bound to make a lasting and memorable statement.
Incorporating a Ramo Buchon with paper bouquet into your event or space guarantees longevity. It opens the door to an array of colors and textures that can be seamlessly customized to align with your desired theme or aesthetic. Elevate your occasions with the timeless elegance of a meticulously crafted Ramo Buchon with paper, a testament to the artistry and uniqueness that paper bouquets bring to any setting.
Why to make a Ramo Buchon with Paper?
- Everlasting Beauty:
Let’s face it, folks – fresh flowers are fleeting. One day, they’re the belle of the ball, and the next day, they’re wilting faster than a plant during a heatwave. Enter the paper bouquet, the unsung hero of longevity. Crafting your Ramo Buchon with paper ensures that your masterpiece will remain as vibrant and perky as your morning coffee, no matter how much time passes.
- A Symphony of Colors and Textures:
Unlike Mother Nature’s limited palette, the paper universe offers an explosion of hues and textures. Want a custom bouquet irrespective of the colors of the flower? Well, in paper crafting, you’re the Picasso of patterns and the maestro of colors. The possibilities are as endless as your imagination, making the creation process not just an art form but a riot of laughter-inducing choices.
- Personalization Galore:
Sure, you could grab a generic bouquet from the store, but where’s the fun in that? Crafting your Ramo Buchon from paper lets you inject a healthy dose of personality into your creation. Want to add a touch of sarcasm? Slip in a paper note that says, “Like this bouquet, our friendship is forever!” You’re not just crafting a centerpiece; you’re weaving in your own unique brand of humor and wit.
- No maintenance required:
Ramo Buchon with Paper bouquets do not require any special maintenance like real flowers. There is no need for watering or any other special care. This makes them a convenient choice for working professionals or people having no spare time.
- The Eco-Friendly Twist:
Save the trees, they say. Well, how about we save the planet with a quirky twist? Ramo Buchon with Paper bouquets are not just charming; they’re eco-friendly! No need for pesticide-laden flowers shipped halfway across the globe. Embrace your inner environmental superhero as you cut, fold, and assemble your Ramo Buchon with a wink and a nod to sustainable living.
- Free from allergens:
Most people have an allergy to fresh flowers, so Ramo Buchon made with paper, is the best choice for them either for their own home or if you want to gift a bouquet to someone who has an allergy to it.

Materials Required to make a Ramo Buchon with Paper
A meticulous gathering of essential materials is paramount to embark on the delightful journey of crafting a visually stunning paper bouquet. Let’s dive into this comprehensive list that not only guides you through the basics but also adds a touch of humor and creativity to the process:
- High-quality Paper: Think of it as the VIP guest list for your bouquet – opt for thick, colored papers or cardstock in a variety of shades. You want your flowers to look so real that even bees might get confused. Choose different hues for petals, leaves, and stems, turning your bouquet into a botanical rainbow.

- Craft Glue or Adhesive Tape: You’ll need glue that sticks together like lifelong friends or tape that bonds faster than a group of superheroes forming a coalition. Opt for the kind that dries clear and sets in record time.
- Floral Wire or Pipe Cleaners: Meet the backbone of your paper garden. Floral wire or pipe cleaners serve as the sturdy stems, giving your flowers that oh-so-natural sway. It’s like creating a botanical ballet; these are your prima ballerinas.
- Wire Cutters: If floral wire is your chosen dance partner, invest in wire cutters that can slice through the wire like a hot knife through butter. Precision is the key to this floral ballet, and a good pair of wire cutters is your backstage pass.
- Scissors: Equip yourself with the sharpest pair of precision scissors you can find. This isn’t just a craft; it’s a delicate surgery on paper. A good pair of scissors is like a surgeon’s scalpel, making the process smoother and more precise. Bonus points if they make a satisfying “snip” sound.
- Floral Tape: Consider it the stylish attire for your paper flower stems. This thin and stretchable tape is the florist choice for a sleek and realistic appearance. Choose a color that complements your bouquet’s overall theme – a well-dressed stem is a happy stem.
- Pencil or Scoring Tool: Time to unleash your inner sculptor. A pencil or scoring tool is your secret weapon for creating those elegant creases and folds in the paper. It’s like giving your flowers a spa day, allowing them to relax into perfect form.
- Flower Templates or Patterns: Don’t let your creativity be confined – grab pre-designed flower templates or patterns. These crafting cheat codes ensure your flowers are uniform in shape and size, guaranteeing a bouquet as consistent as your morning coffee routine.
- Decorative Elements: Now, let’s talk flair. Elevate your paper bouquet game by tossing in some decorative elements – ribbon, buttons, pearls, or glitter. It’s like adding the perfect accessories to your outfit; these embellishments will make your bouquet the belle of the craft ball.
- Optional Tools: Consider additional tools for that extra wow factor, depending on your crafty inclinations. A hot glue gun for securing delicate parts, a ruler for precise measurements, or a bone folder for those extra sharp paper creases.


Now armed with this arsenal of crafting greatness, turn your paper into a masterpiece. Remember, it’s not just a bouquet; it’s a symphony of paper blooms waiting to dance into the hearts of those lucky enough to behold its whimsical beauty.
How to make a Ramo Buchon with paper? Step-by-step Guide
Crafting an exquisite paper bouquet is an art form that demands precision and creativity. Let’s delve into a detailed guide, expanding on the existing steps and introducing a couple of additional ones for a truly professional touch:
Step 1: Initiate the Blossoming Process
Embark on your floral odyssey by sketching and meticulously cutting out the flower petals from your carefully chosen paper. Picture yourself as a paper florist, shaping the essence of your bouquet with every deliberate cut.
Step 2: Elevate Realism with Templates or Stencils
Employ templates or stencils to guide your artistic hand for an added touch of botanical authenticity. Think of them as your floral architects, ensuring the structural integrity of your petals. After cutting, wield your pencil like a sculptor’s tool, delicately curling the edges to infuse the petals with a lifelike dimension.
Step 3: Cultivate the Stem – The Backbone of Elegance
Now, let’s talk stems. Cut a long strip of paper, treating it as the backbone of your floral creation. Opt for green paper to mirror the natural hue of a real flower stem. This stem is not just support; it’s the anchor that grounds your bouquet’s elegance.
Step 4: Fortify and Secure the Stem
Give your stem the strength it deserves! Envelop one end of the strip with floral wire, wrapping it with floral tape to create a resilient foundation. This step isn’t just about stability; it’s about fortifying your stem, ensuring it stands tall and proud amidst the paper blossoms.
Step 5: Orchestrate the Floral Symphony
Assemble the petals around the stem, orchestrating a floral symphony that unfolds with each carefully placed petal. Use small dabs of glue or floral tape to affix the petals, choreographing a ballet of colors and shapes. Ensure an even distribution, creating a harmonious and visually captivating arrangement.
Step 6: The Grand Finale – Adding Layers and Flair
With the main flowers in place, it’s time for the grand finale. Elevate your bouquet’s allure by introducing additional petals, leaves, or embellishments. Think of it as the bouquet’s couture phase – each layer adds a touch of sophistication. Pay meticulous attention to color combinations and textures, transforming your paper creation into a true work of art.
Step 7: Fortify and Seal the Legacy
To immortalize your masterpiece, tightly wrap floral tape around the base of each flower, extending down the stem. This isn’t just about securing; it’s about sealing the legacy of your paper bouquet. For an extra touch, envelop the entire stem with green paper, any paper of your choice, or floral tape, providing a polished finish that announces your bouquet as a refined creation.
Step 8: Embrace the Creative Flourish
Don’t hesitate to infuse your bouquet with a creative flourish. Consider adding personalized elements like tiny messages within the petals or incorporating thematic accents that reflect the occasion. This extra step elevates your paper bouquet from a craft to a customized work of art.
With these detailed steps, your paper bouquet transcends the ordinary, becoming a meticulously crafted masterpiece that captivates and delights.

Conclusion
In conclusion, crafting a Ramo Buchon with paper offers a unique and creative way to add sophistication to any occasion. The article emphasizes the enduring beauty of paper bouquets, highlighting their advantages over traditional fresh flowers, such as customization, eco-friendliness, and allergen-free qualities. The step-by-step guide provides a comprehensive overview of the materials required and detailed instructions for creating a stunning paper bouquet. By infusing personalization, creativity, and a touch of humor into the process, the result is not just a bouquet but a customized work of art that promises lasting beauty without needing maintenance. Whether for personal enjoyment or as a thoughtful gift, a paper Ramo Buchon stands as a testament to the artistry and uniqueness that paper bouquets bring to any setting. Happy crafting!