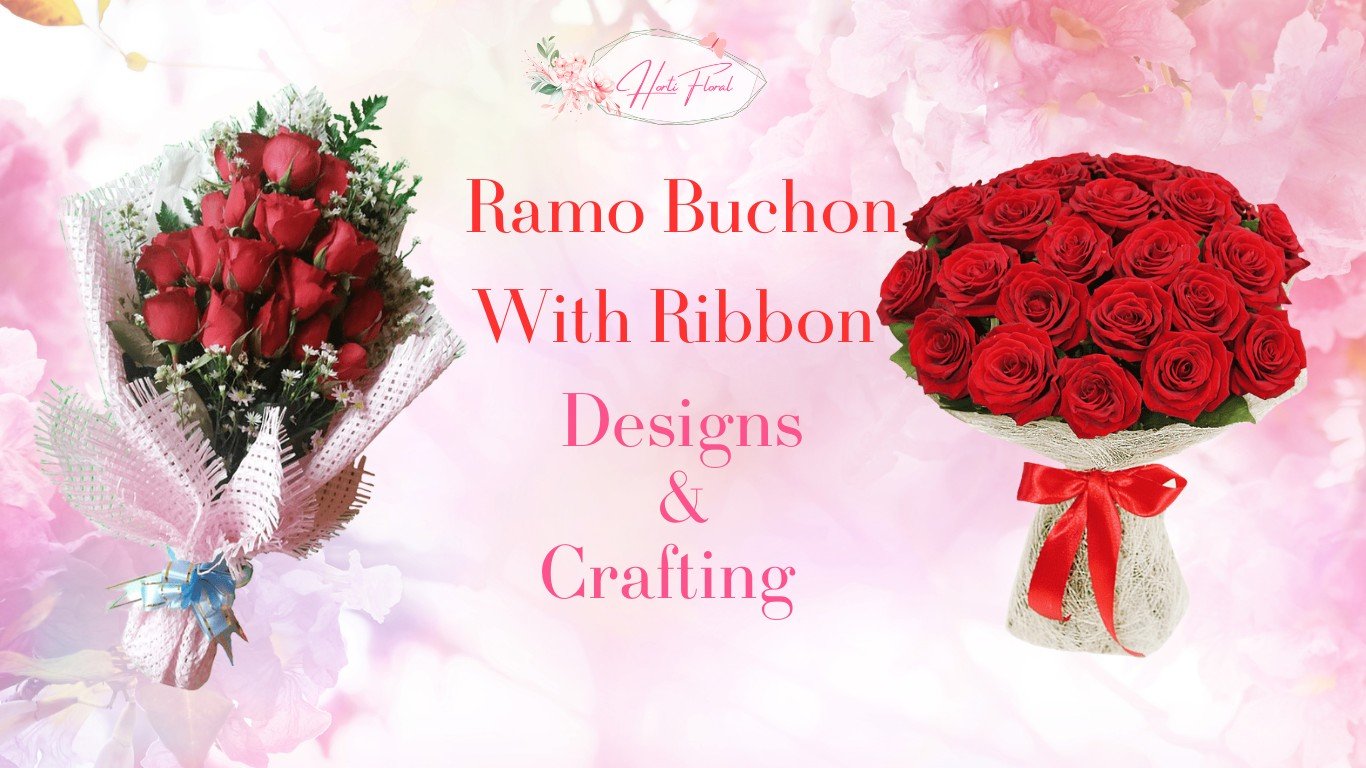
The Ramo Buchon with Ribbon is a floral masterpiece that has captivated generations with its enduring elegance. Originating from the enchanting landscapes of Spain, this exquisite bouquet effortlessly weaves together the splendor of nature’s blossoms with the delicate charm of ribbons, creating a harmonious and graceful ensemble.
In this article, we delve into the intricate artistry behind crafting a one-of-a-kind Ramo Buchon with Ribbon, imparting a personalized touch of sophistication to your most cherished moments under the guidance of our professional florist and their crafting techniques and tactics.
The Origin and Legacy:
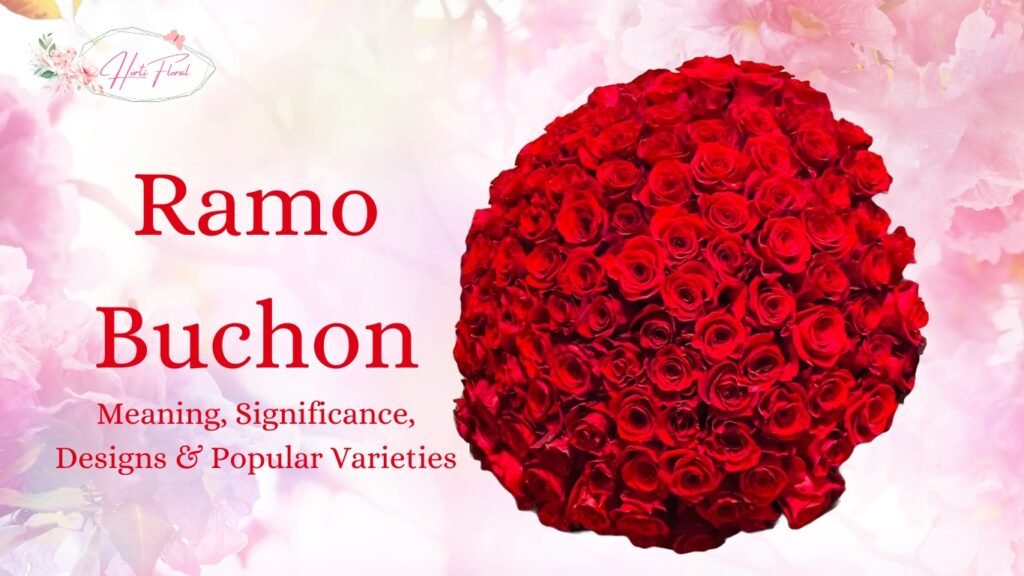
Hailing from the rich traditions of Spain, the Ramo Buchon with Ribbon is more than just a bouquet; it is a symbol of timeless beauty and cultural significance. The artful combination of blooming flowers and flowing ribbons has been a staple in celebrations and ceremonies, passing down through generations as a cherished tradition. You can also read Ramo Buchon Meaning, Significance, Popular Designs & Varieties
Designing Ideas:
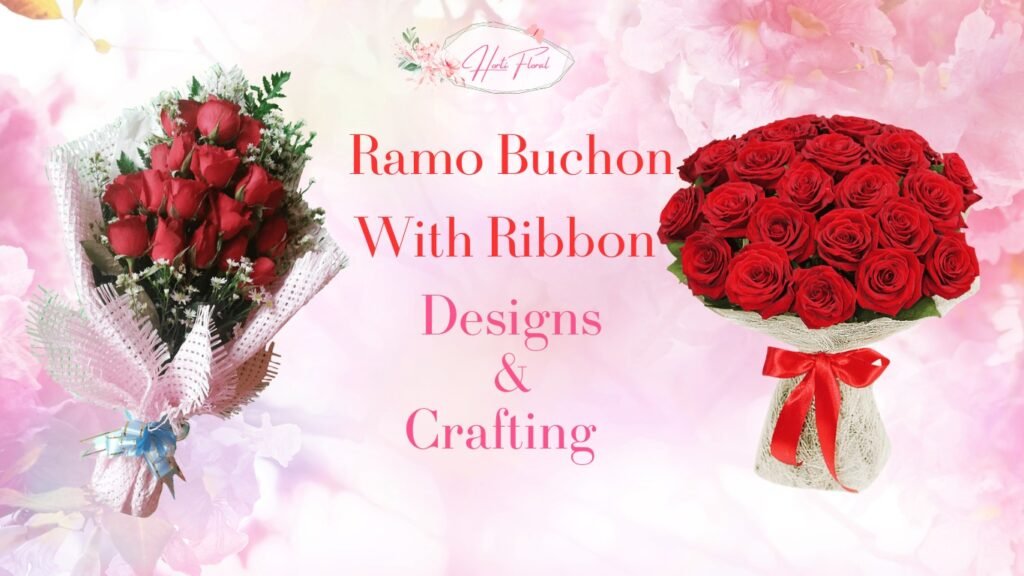
- Ramo Buchon Flowers tied only with Ribbon.
- Ramo Buchon was wrapped with a sheet and then tied with a Ribbon.
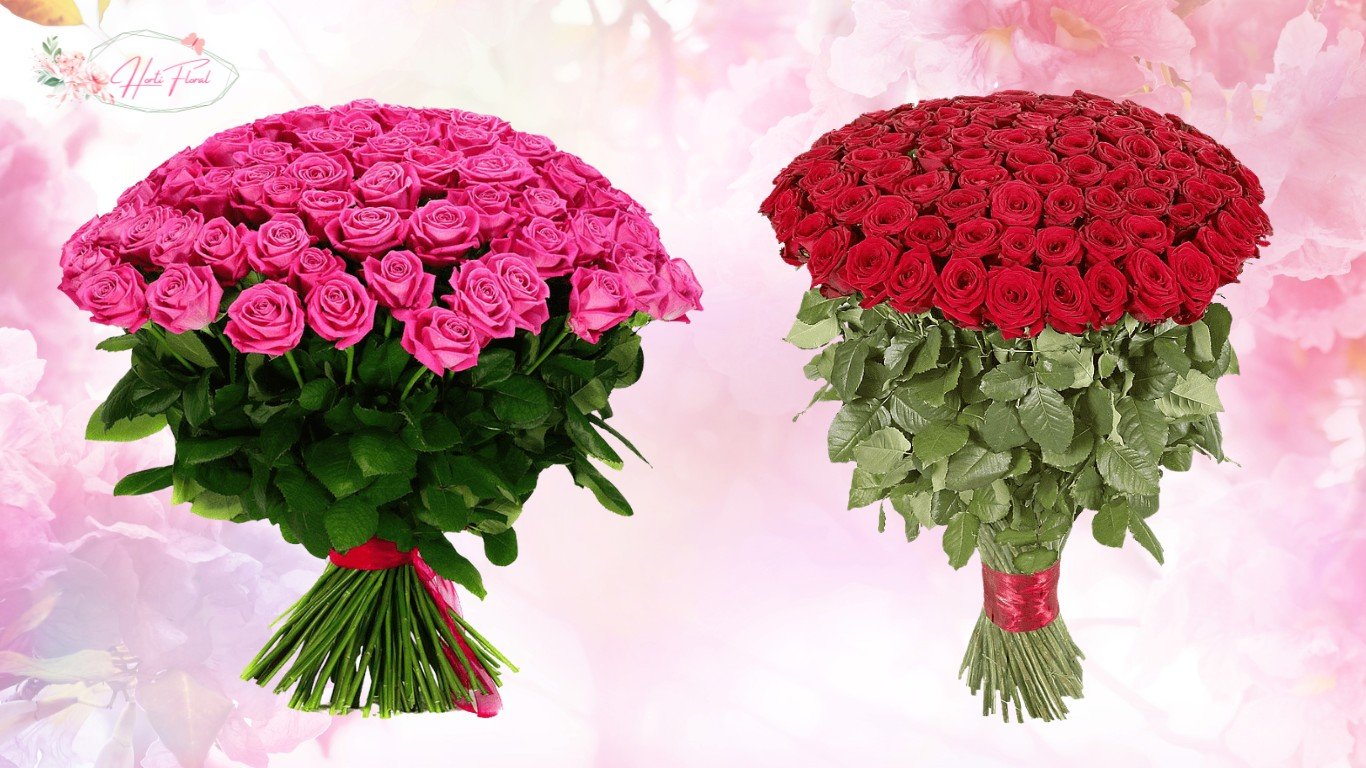
- Ramo Buchon in a dome shape tied with ribbon.
- Ramo Buchon in natural shape and tied with the love of ribbon.
How To Make A Ramo Buchon With Ribbon
Crafting the perfect Ramo Buchon with Ribbon requires a meticulous selection of components. The blossoms chosen for this masterpiece are carefully curated for their aesthetic appeal, fragrance, and symbolic significance. Delicate and vibrant flowers are selected to create a visual symphony that evokes emotions and memories.
The ribbons, another crucial element, add a touch of finesse to the bouquet. Carefully selected to complement the color palette of the flowers, the ribbons are chosen for their quality and texture, ensuring they enhance the overall visual appeal of the arrangement.
Materials Required:
- Flowers: Choose fresh flowers while considering their significance and color like pink ramo buchon, purple ramo buchon, or Tulip, Peonies, Lilac Bouquet which matches the occasion for your beautiful bouquet design.
- Floral Shears/Cutter/Knife: Equip yourself with sharp floral shears/Cutter/Knife to ensure precise stem cuttings and give it a particular size.
- Floral Tape: Once you achieve the desired bouquet shape, tie it with floral tape.
- Ribbon: Choose the most eye-catching Ribbon that best suits the occasion and glorifies your selected Ramo Buchon Bouquet with Ribbon.
- Floral Water: We advise putting your blooms into floral water/tap water to make them remain fresh before and throughout the crafting process, or you can read our other blog for complete details about “How do you take care of a Ramo Buchon” Which is written by our professional florist and horticulturist.
How to make a Ramo Buchon with Ribbon Step-By-Step Guide:
Step 1: Prepare Your Blooms:
- Armed with floral shears, start by trimming the stems of your chosen flowers at a slight angle.
- Remove leaves that might obstruct the bouquet’s beauty and rot quickly and decrease the bouquet’s life, allowing each bloom to shine individually.
- This meticulous preparation sets the stage for a seamless and visually pleasing arrangement.
Step 2: Bouquet Blueprint designs:
- First, craft a design in your mind and then organize your flowers into groups, considering their unique attributes and significance. This thoughtful categorization in your mind will serve as your bouquet blueprint, guiding the composition of your arrangement.
- Start by understanding each bloom’s colors, shapes, and sizes. Congratulations, you laid the foundation for a harmonious and visually striking bouquet.
Step 3: Start arranging the stems:
With your floral blueprint in mind, begin crafting your Ramo Buchon.
- Design One: Hold the first flower at your desired height and angle, gradually introducing additional blooms while gently rotating the bouquet.
- Design two: You can also provide a natural look by arranging stems of different sizes.
- Design three: You can also make a dome shape of the bouquet by arranging from the large stem in the center of the bouquet and gradually placing smaller stems around it.
Pay careful attention to keeping stems parallel and even to provide a gentle look.
Step 4: Tie with Floral Tape:
- Once satisfied with your floral arrangement, securely tie the stems with floral tape.
- This step not only enhances the structural integrity of your bouquet but also contributes to its overall aesthetic appeal.
Step 5: Adding the Elegance of Ribbon Radiance:
- Cut the Ribbon in different angles, like a V shape, or at 30 degrees to provide a decent crafting look.
- Tie these ribbons at the bottom of the bouquet to increase its beauty and achieve the desired design you need help with reading this article.
The Ribbon serves as a sophisticated embellishment, adding a touch of finesse to the overall design.
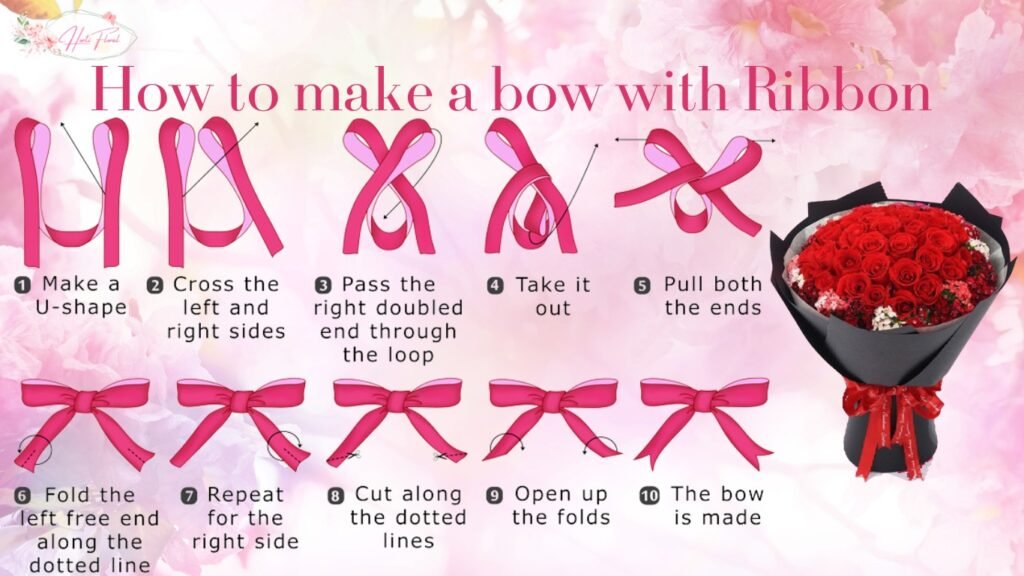
Step 6: Adding a Bow:
- Design a beautiful bow with the help of a long Ribbon and attach it to the base of the bouquet.
- This will increase the tidiness of the bouquet.
Step 7: Trim the additional stems:
- Trim the additional stems from the bouquet end to provide a symmetrical and balanced look to the bouquet.
Step 8: Soak into Floral Water:
Soak (Dip) your Ramo Buchon with Ribbon into floral tonic/tap water until the presentation to keep it fresh and vibrant.
Conclusion:
In conclusion, the Ramo Buchon with Ribbon is more than a floral arrangement; it is a testament to the artistry and cultural heritage that spans generations. Mastering the art of crafting a stunning Ramo Buchon with Ribbon requires a meticulous approach, from preparing the blooms to the final presentation. By following this step-by-step guide, you can create a floral masterpiece that not only reflects elegance and sophistication but also adds a personalized touch to your cherished moments.
